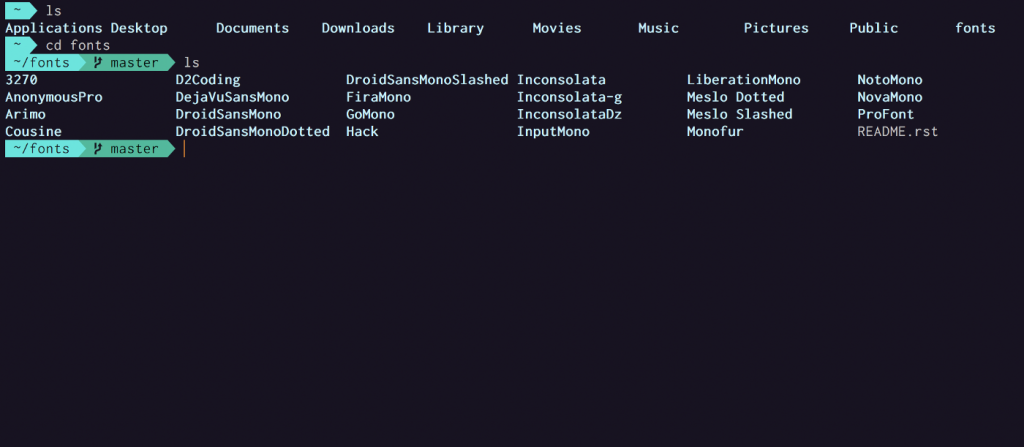
Programing requires you to frequently use the terminal to perform many actions. The default terminal is just plain ordinary and doesn’t help you at all with limited information and blant design. Zsh also known as Z Shell is a shell built on top of the default shell for macOS(bash).
Zsh has huge number of features and when combined with iterm it becomes a beast for programming and productivity. Let’s take a look at how we can setup our terminal that gives us the information we need and helps us with the productivity all packed in a attractive appearance.
1. Homebrew
If you are already working with terminal for some time and been into programming, you most likely have Homebrew installed. Otherwise you can go ahead and install homebrew using the command below.
/usr/bin/ruby -e "$(curl -fsSL https://raw.githubusercontent.com/Homebrew/install/master/install)"2. iTerm2
Iterm contains much better features compared to the default terminal in macOS and most programmers prefer using it. The latest version of iterm is iTerm2. Install the iTerm2 using the command:
brew cask install iterm23. Zsh
MacOS ships with zsh by default and you don’t need to do anything. But if your system doesn’t have the zsh configuration, we will need to install it for the next steps to follow.
Run this command to install zsh.
brew install zsh
4. Oh My Zsh
Oh My Zsh is a framework for managing your zsh configuration. It allows you to configure zsh easily. Install Oh My Zsh using this command:
sh -c "$(curl -fsSL https://raw.githubusercontent.com/robbyrussell/oh-my-zsh/master/tools/install.sh)"
Now, restart your terminal and you are good to go.
5. Theme
Oh My Zsh by default comes with lots of themes (default being: robbyrussell). You can change between prebuilt theme. But to built a powerful and beautiful looking terminal you will need to use a custom theme. One of the most popular custom theme for zsh is powerlevel9k. Let’s clone the repository:
$ git clone https://github.com/bhilburn/powerlevel9k.git ~/.oh-my-zsh/custom/themes/powerlevel9k
Once the themes are cloned, go ahead and update your zsh configuration to change the theme to powerlevel9k.
Open the zsh configuration using the command:
open ~/.zshrc
Once the file is open, replace the existing theme with powerlevel9k, by editing this line:
ZSH_THEME="powerlevel9k/powerlevel9k"
Save the file and update your changes by running this command:
source ~/.zshrc
To change the colors and appearance, you can navigate to Preferences > Profiles > Colors and play around with colors or you can use pre-built color scheme. Go ahead and download the zip file of Color Schemes. Extract the zip file.
For the next step, go to the colors inside profiles from preferences and import the color schemes by clicking on Color Presets.
6. Fonts
Next steps is installing fonts. Download a preferred font from powerline fonts and install it. Change the font from preferences menu to the font you just downloaded. If your font supports ligatures, check the “Use ligatures” option to enable ligature in your terminal. Ligatures are really cool features of fonts, Fira code is an open source font that supports ligatures.
7. Customizing prompt
By the time you finish this setup. You will have prompts appearing on both sides of the terminal. Some people like the information provided and how it looks. I am particularly not a fan of these. So, if you would like to customize how the prompts look.
Open your zsh configuration:
open ~/.zshrc
After the theme option. Add following lines:
POWERLEVEL9K_LEFT_PROMPT_ELEMENTS=(ssh dir dir_writable vcs)
I am just customizing the left prompt for what I like. You can look the features that you can change here. Once you are done with this, save the file and update the changes by running the command:
source ~/.zshrc
Now you should have a beautiful terminal that you will love.
Congratulations!!

